

Watching your little one take their first glide on a balance bike is one of those unforgettable parenting moments. It’s exciting, nerve-wracking and, let’s be honest, a little emotional. If you’re thinking about starting your toddler on their cycling journey, you’re in exactly the right place.
Balance bikes are the perfect first step for children aged 18 months to 4 years. They help build confidence, develop coordination and make the transition to pedal bikes much smoother, often without needing stabilisers. But how exactly do you teach a toddler to ride one?
Here’s your step-by-step guide: tried, tested and stress-free.
Step 1: Pick the Right Bike
Not all balance bikes are created equal. For young children, comfort, fit and ease of use are everything.
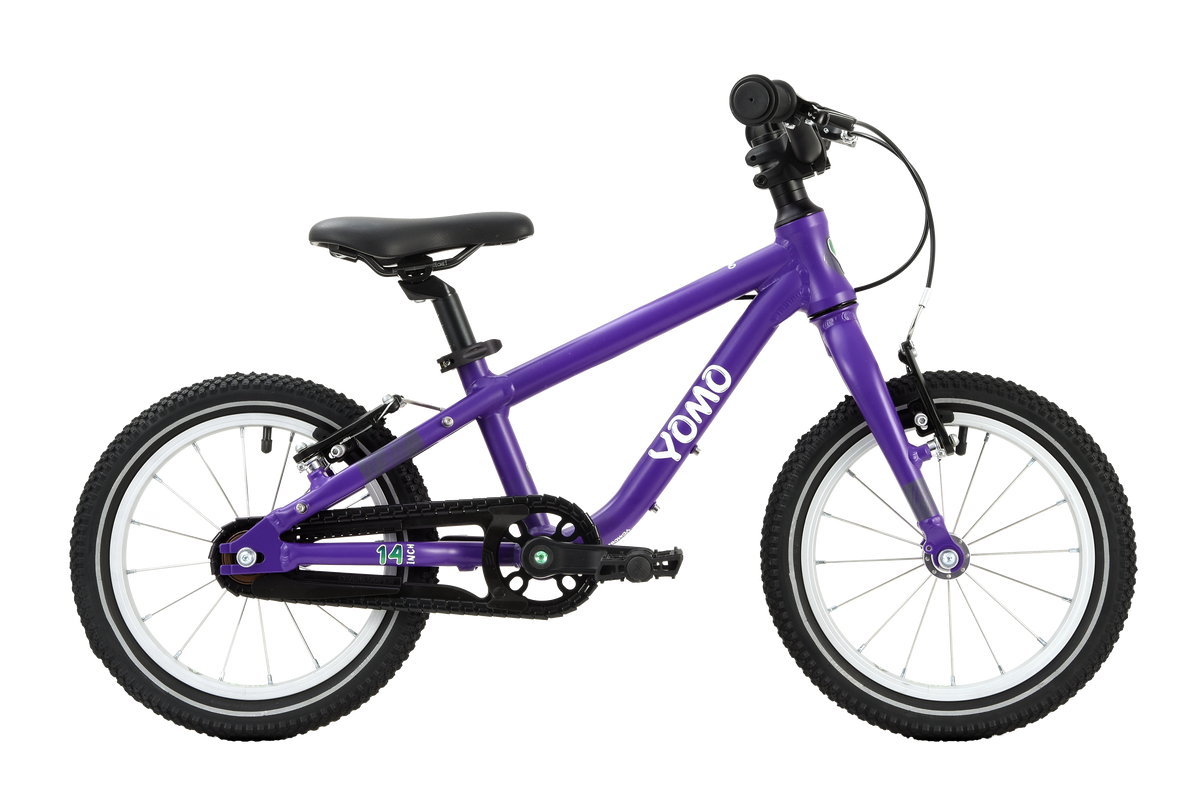
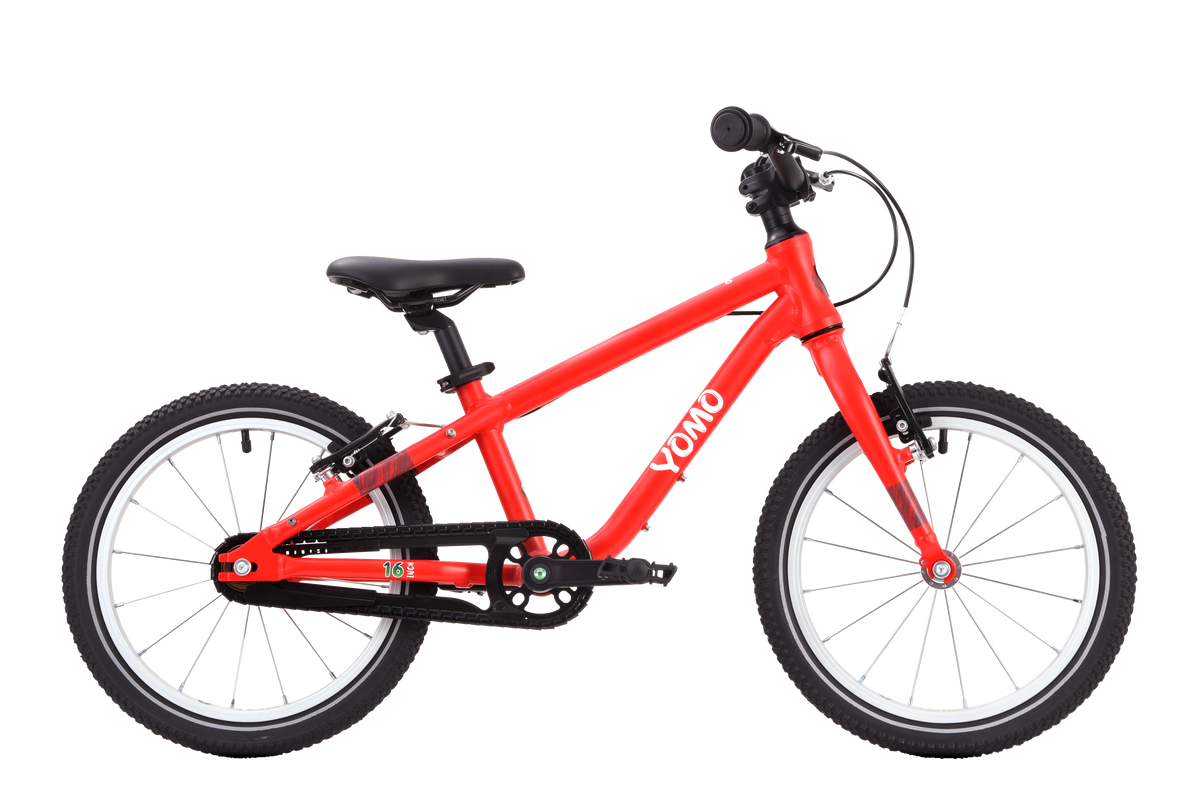
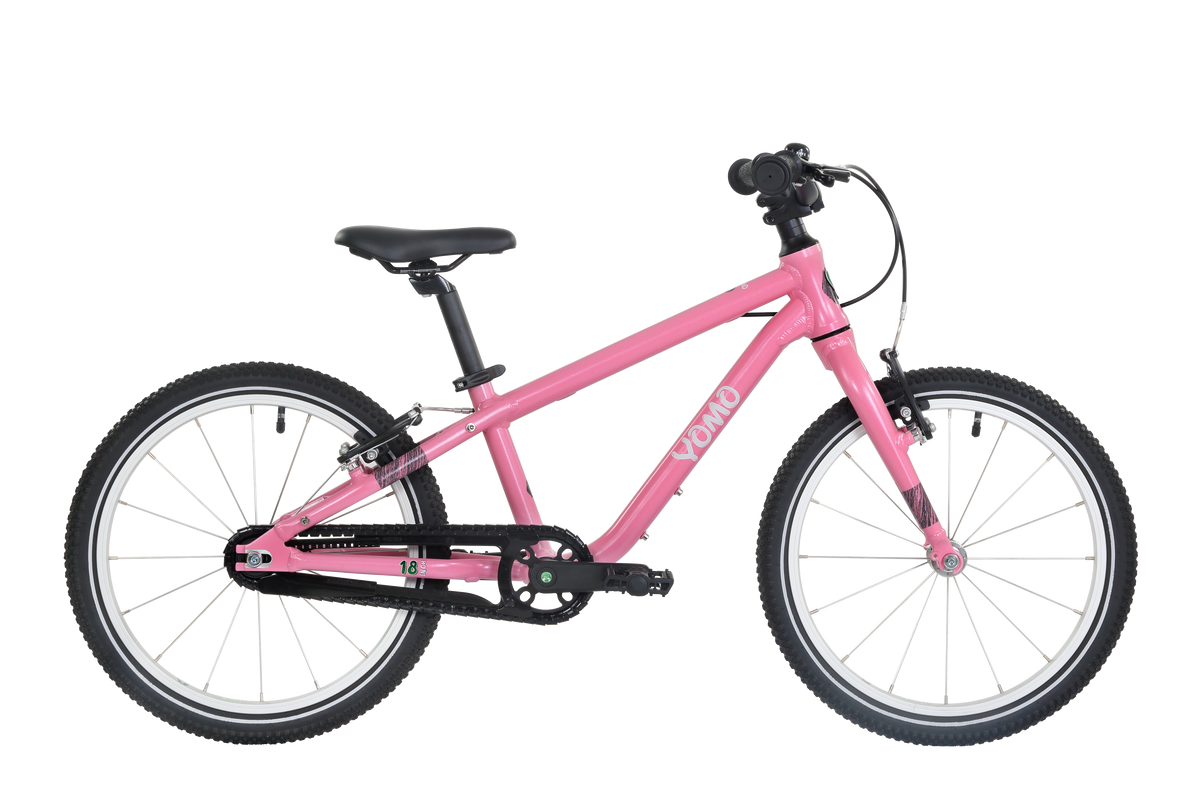
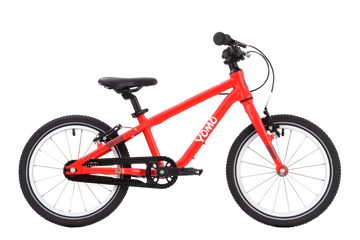
That’s why we designed the YOMO 12 specifically for this age group. With an ultra-lightweight alloy frame, air-filled tyres for a smoother ride and an adjustable saddle that grows with your child, the YOMO 12 ticks all the right boxes. It’s built to last through every bump, wobble and proud little victory.
Step 2: Start Indoors or Somewhere Super Safe
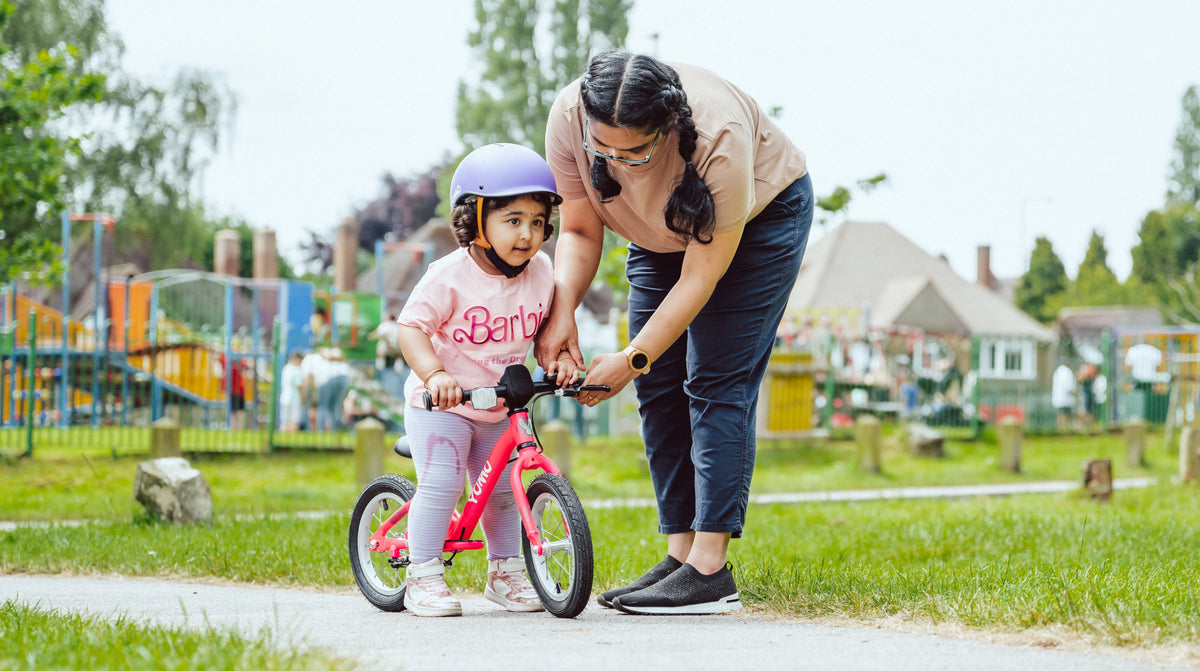
Begin in a space where your child feels comfortable: your garden, a quiet path or even indoors if you’ve got the space. Keep the environment flat and safe while they get used to sitting on the saddle and walking the bike forward.
Tip: There’s no need to push or balance for them. Let them explore the bike in their own way. Sitting on it, walking with it or even carrying it around is completely fine during the first few attempts.
Step 3: Check the Fit and Adjust as Needed
The key to a smooth start is making sure the balance bike is the right height. Your child should be able to:
- Sit comfortably on the saddle
- Place both feet flat on the ground
- Stand up and walk the bike forward with ease
The YOMO 12 has a quick-release seat clamp, making these adjustments simple with no tools required. We also have our Perfect Size Finder if you need some reassurance.
Step 4: Let Them Lead and Don’t Rush It
It sounds like two steps, but patience is really important. Balance biking is all about confidence and independence. At first, your child might simply walk while straddling the bike. Gradually, you’ll see them start to lift their feet and take little glides. Before you know it, they’ll be coasting down the path like a pro.
Celebrate every milestone, no matter how small. Toddlers learn best when they’re having fun and feel safe trying new things.
Step 5: Practice Makes Progress
Short, regular sessions work best. Even 10 minutes a day can lead to big improvements. Take the bike to the park, bring it on errands or let your child ride alongside you on walks. The more opportunities they have to practise, the more natural balancing will feel.
It’s completely normal if they fall over once or twice. That’s part of learning. Just be there with a hug and some encouragement.
Step 6: Look for the Glide and Get Ready for Pedals
You’ll know your child is getting the hang of it when they start to glide with both feet off the ground for several seconds. That’s the magic moment! From there, many children transition to pedal bikes without ever needing stabilisers.
Ready for Fun on Wheels?
Whether you’re just starting or already a few rides in, remember that every child learns at their own pace. The goal isn’t to rush them into pedalling. It’s to make riding feel joyful and natural from the very beginning.
Take a closer look at the YOMO 12 for your child’s first ride. It’s designed for tiny adventurers and built for big milestones.