


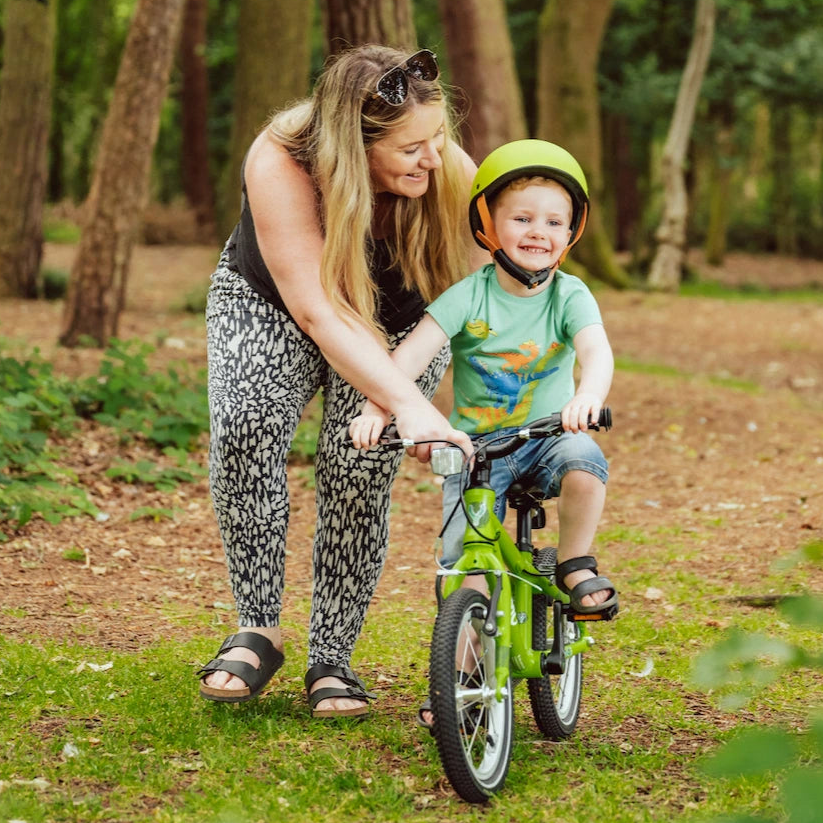
Learning to ride a bike without stabilisers is one of those childhood milestones that can feel enormous to both children and parents.
The good news is that learning doesn't need to involve repeatedly pushing a child forwards and hoping they stay upright.
The simplest approach is to break riding into separate skills: balance first, then gliding, braking, starting and finally pedalling.
Some children understand it in one session. Others need several short attempts over days or weeks. Neither is a problem.
Here's how to help your child learn to ride a bike without stabilisers, step by step and without turning it into a race.
Before you start: make sure the bike fits
Learning becomes much harder when the bicycle is too big.
Your child should be able to comfortably reach:
- the handlebars;
- both brake levers;
- the pedals; and
- the ground when appropriate during the learning stage.
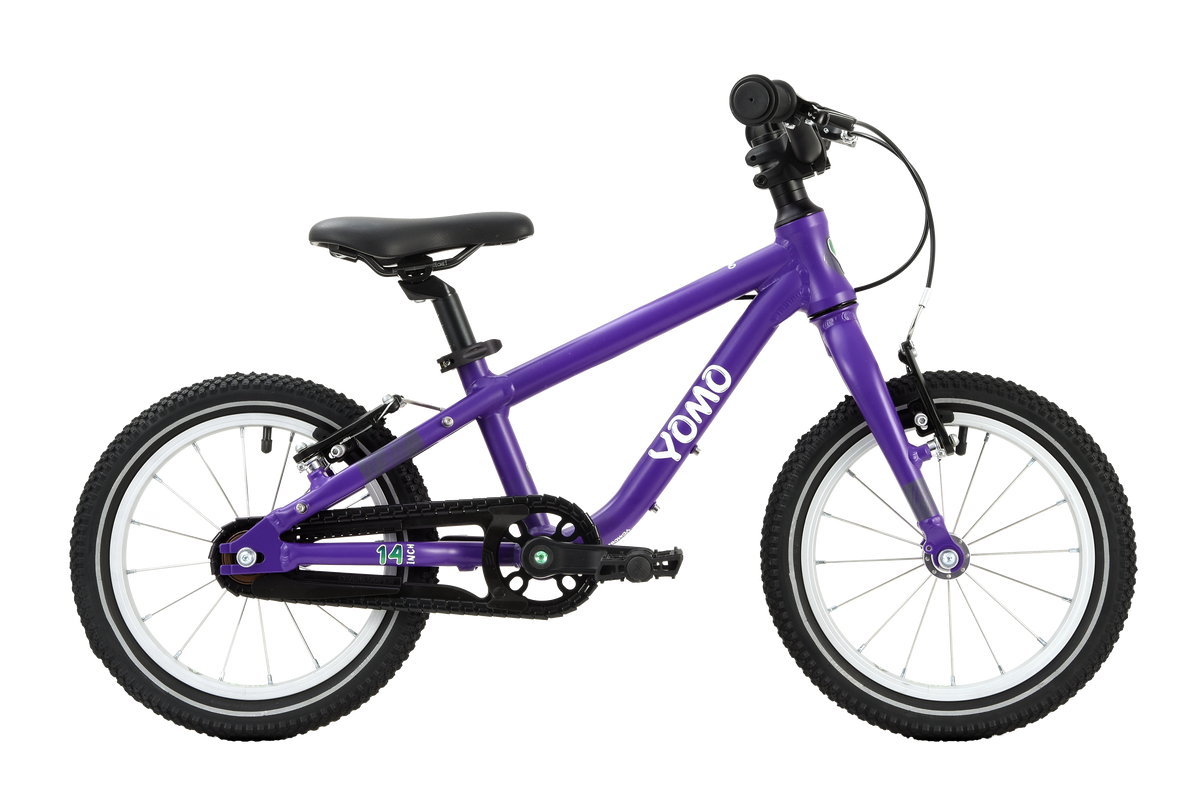
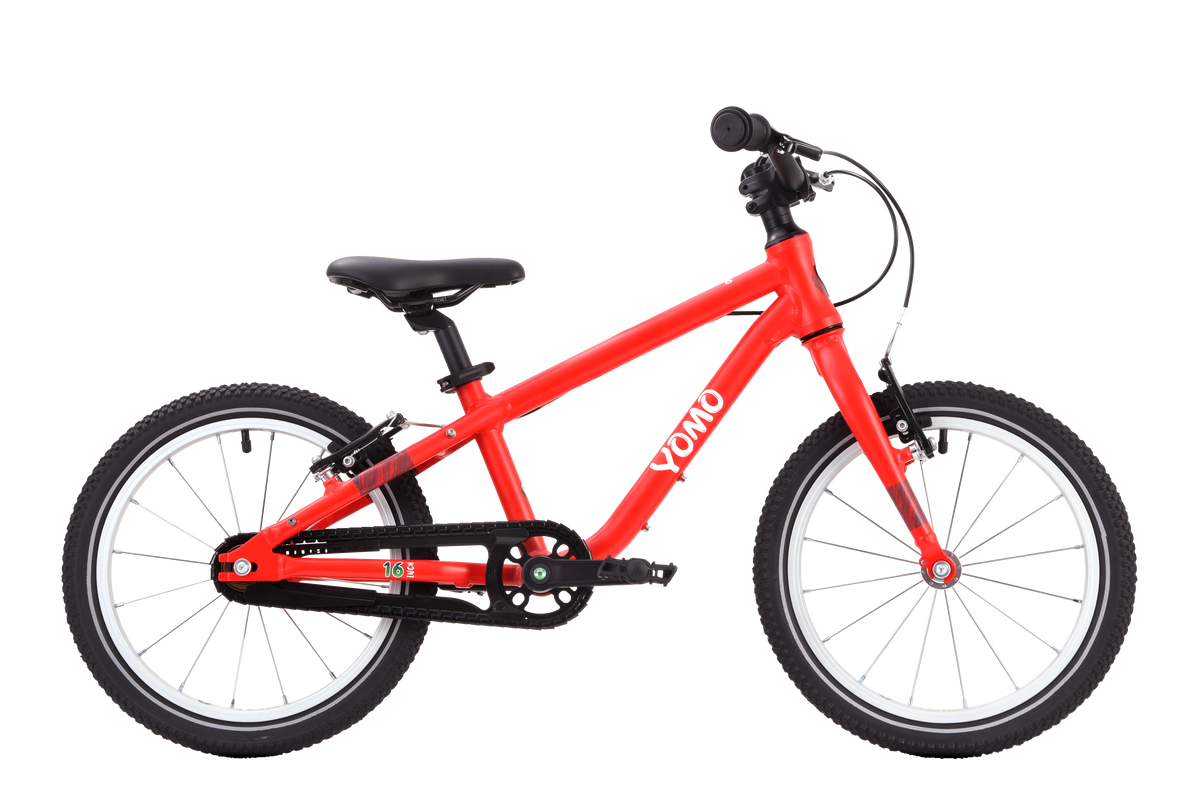
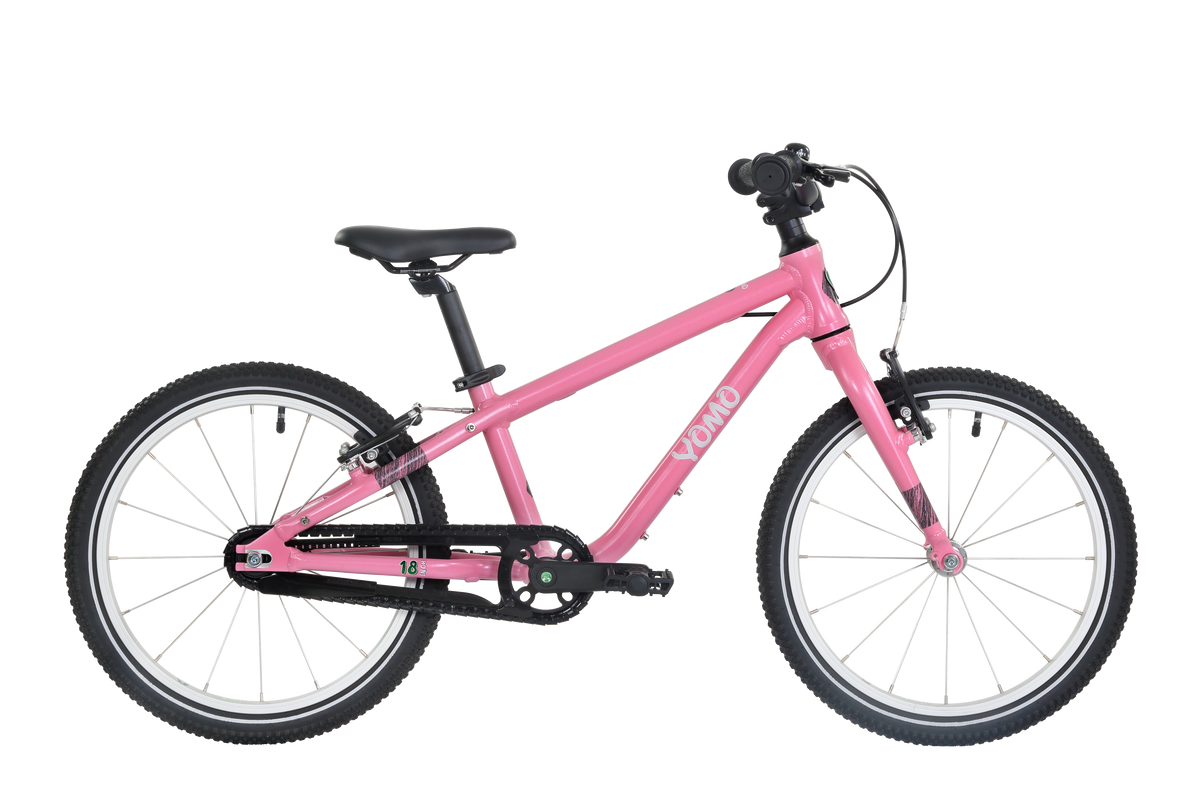
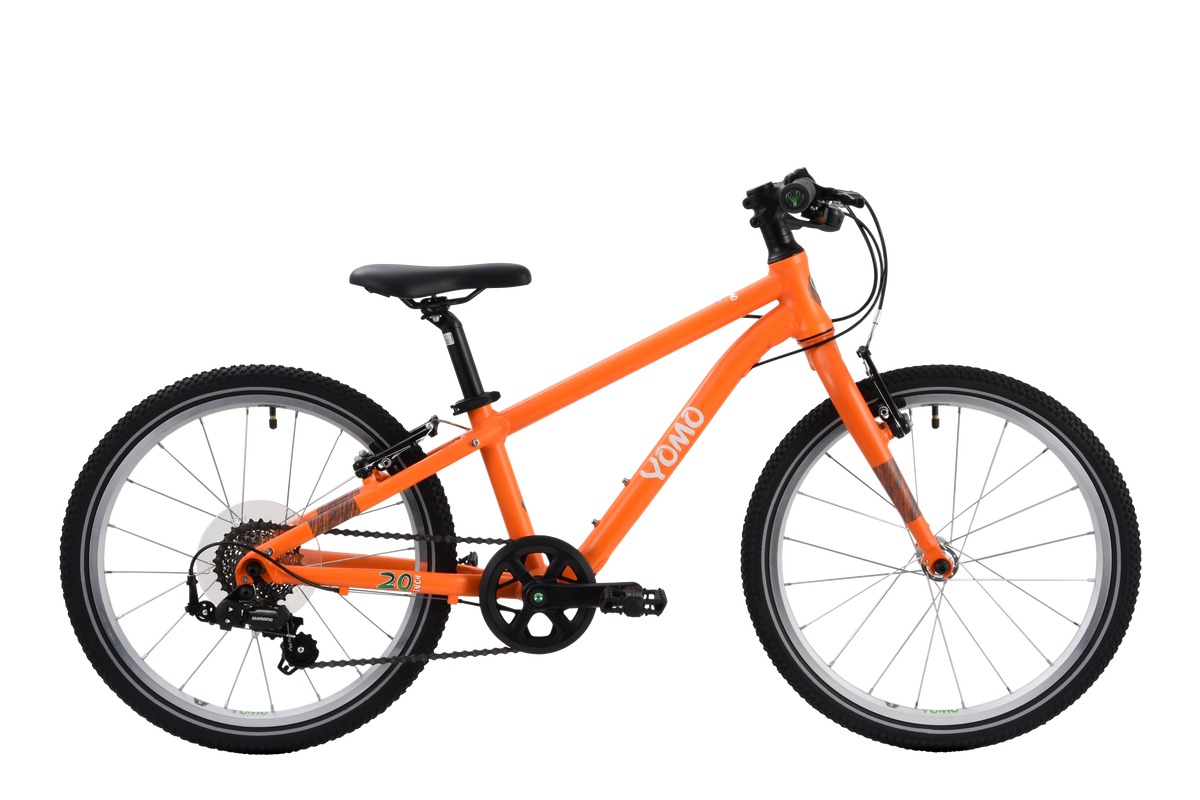
For YOMO bikes, inside-leg measurement, current fit and rider confidence should lead the sizing decision, rather than age alone.
If you're unsure about their current size, use the YOMO Perfect Size Finder.
Don't deliberately choose a bike that's too large because you want your child to grow into it. A bicycle that fits properly now is easier to balance, steer, start and stop.
What age should children stop using stabilisers?
There isn't a correct age.
Children develop balance, coordination and confidence at different rates.
Instead of asking whether they're old enough, look for signs that they're ready to develop independent balance.
For example:
- they're comfortable riding their current bike;
- they understand how to brake;
- they're interested in trying two wheels;
- they can steer reasonably predictably; and
- they're willing to practise.
If they don't want to remove the stabilisers yet, waiting a little longer is usually more productive than forcing the issue.
Where is the best place to learn to ride without stabilisers?
Choose a wide, flat, smooth and traffic-free area with plenty of room.
Good options might include:
- a suitable traffic-free paved area;
- a wide smooth cycle-training space;
- a quiet park area where cycling is permitted; or
- a school playground when you have permission to use it.
Avoid starting on a hill.
And although grass may look reassuring because it seems softer to fall on, it creates more rolling resistance and can make steering and balancing harder for a beginner.
A smooth hard surface makes it easier for the bike to keep moving while your child learns to balance.
Step 1: remove both stabilisers
If you're moving away from stabilisers, remove both rather than taking one off and leaving the other in place.
The goal is to allow the bicycle to lean and the child to develop two-wheel balance naturally.
If your child already pedals confidently but has relied heavily on their stabilisers, don't feel that they need to start pedalling immediately after you remove them.
Move back to balance first.
Step 2: temporarily lower the saddle for balance practice
For the initial gliding stage, it can help to lower the saddle enough that your child can put their feet down confidently and propel the bicycle along.
This isn't necessarily the final saddle position they'll use once they're comfortably pedalling.
The purpose is to give them control while they discover how the bicycle balances.
Never raise or lower a saddle beyond the manufacturer's permitted adjustment markings.
Step 3: consider temporarily removing the pedals
If balance is the main difficulty, you can temporarily remove the pedals from an appropriately sized pedal bike and use it like a balance bike.
This is also a technique recommended within Bikeability guidance for children who haven't yet developed independent balance.
With the pedals removed, your child can concentrate on:
- scooting;
- steering;
- braking;
- looking ahead; and
- gliding with both feet off the ground.
If your child is already confident on a balance bike, they may already have much of this skill.
Step 4: practise walking and scooting the bike
Ask your child to sit on the saddle and move forward using their feet.
At first, they may simply walk while sitting on the bike.
That's fine.
As they become more comfortable, encourage them to make stronger pushes with their feet so the bicycle moves for longer between steps.
Don't rush this stage.
The aim isn't speed. It's helping the child feel what happens when the bike is moving beneath them.
Step 5: encourage short glides
Once they're moving comfortably, encourage them to lift both feet for a moment.
You might say something simple such as:
“Push, push, then feet up.”
Initially the glide might last less than a second.
With practice, those moments should become longer.
Encourage your child to:
- keep their head up;
- look where they want to go;
- keep their arms relaxed;
- keep their fingers ready near the brakes; and
- put their feet down whenever they need to regain control.
Looking down at the front wheel often makes balancing harder. Give them something ahead to look towards instead.
Step 6: practise stopping before adding pedals
A child who knows they can stop is often more willing to let the bike move.
Before introducing pedalling, practise controlled braking.
Ask them to:
- scoot or glide forwards;
- look ahead;
- apply the brakes smoothly;
- slow to walking pace; and
- put a foot down once the bike has nearly stopped.
You can place a marker on the ground and turn stopping into a game.
For example: “Can you stop beside the cone?”
Step 7: put the pedals back on
Once your child can glide comfortably and stop under control, it's time to introduce pedalling.
Replace the pedals correctly and check the bicycle before continuing.
Your child already understands the hardest fundamental skill — balance.
Now you're adding propulsion.
Step 8: teach the starting position
Starting can be harder than riding once the bicycle is moving.
Have your child place one pedal slightly forwards and raised, in a position where they can push down strongly to begin moving.
The other foot remains on the ground.
Then:
- look ahead;
- push down firmly on the raised pedal;
- lift the other foot onto its pedal; and
- keep pedalling.
They may need several attempts just to master the start.
That's normal.
Step 9: support the child without steering the bike for them
Parents naturally want to hold onto the bicycle, but too much support can prevent the child from feeling how balance actually works.
Walk or jog alongside them.
If they need help, provide only enough support to reassure them while allowing them to control the steering and balance themselves.
Avoid gripping the handlebars and steering for the child.
As their balance improves, reduce your support until you're simply running alongside.
Don't secretly let go and then announce that you've done it. Some children love that surprise, but others lose trust and become more nervous afterwards.
Let them know when you're reducing the amount of help.
Step 10: keep their eyes up
One of the most useful reminders for a learner is:
“Look where you want to go.”
Children often stare at:
- their feet;
- the pedals;
- the front tyre; or
- whatever obstacle they're worried about hitting.
Encourage them to look further ahead.
Bikeability guidance also emphasises looking in the direction of travel when learning balance and control.
Step 11: practise starting, riding and stopping together
Once your child can pedal for a few metres, resist the temptation to concentrate only on distance.
Practise the complete sequence:
- look ahead;
- start independently;
- pedal;
- steer;
- slow down;
- brake; and
- put a foot down.
Being able to ride 50 metres isn't as useful as being able to start and stop those 50 metres under control.
Step 12: introduce gentle turns
Once straight-line riding feels comfortable, start introducing wide turns.
Use plenty of space.
You could create a simple course using cones, bottles or other visible markers.
Begin with:
- wide curves;
- large circles;
- gentle S-shapes; and
- eventually simple figure-of-eight patterns.
Keep the turns wide enough that your child doesn't need to make sudden steering movements.
Should you hold the saddle when teaching a child to ride?
You can provide temporary support if your child needs it, but the aim should be to reduce that support quickly enough that they can feel their own balance.
Holding the bike rigidly upright can make it harder for the rider to learn the small steering corrections involved in balancing.
Stay close enough to help if necessary, while giving them as much control as they can comfortably manage.
Should you teach a child on grass?
Usually, no.
Grass may appear safer because it's softer, but it creates resistance and makes the bicycle harder to propel, steer and balance.
Bikeability's Learn to Ride guidance recommends a large tarmacked area and specifically advises against using grass where controlling the bicycle is more difficult.
A flat, smooth, traffic-free hard surface is generally a better learning environment.
Should you remove one stabiliser first?
I wouldn't recommend it as the main teaching method.
The objective is for your child to understand how a two-wheeled bicycle balances and leans.
Removing both stabilisers and spending time gliding gives them a clearer opportunity to develop that skill.
If balancing is difficult, temporarily removing the pedals is usually a more useful intermediate step.
What if your child already used a balance bike?
Children who have spent time confidently gliding on a balance bike may find the transition easier because balancing on two wheels is already familiar.
They still need to learn:
- how to start using pedals;
- the pedalling movement;
- how to coordinate pedalling with steering;
- how to use their new bike's brakes; and
- how to stop and put a foot down.
Don't assume that balance-bike experience means they should instantly ride a pedal bike.
Give them time to understand the new controls.
What if your child is frightened of falling?
Fear is one of the most common obstacles to learning.
A few things can help:
- use an appropriately sized bike;
- start in a wide traffic-free environment;
- let them practise putting their feet down;
- keep speeds low at first;
- practise braking;
- stay close without constantly holding them;
- avoid having a crowd watching; and
- keep sessions short.
Don't promise that they won't fall.
Instead, give them the skills to control the bike and stop when they feel uncertain.
What if they keep wobbling?
Some wobbling is part of learning to balance.
If it's excessive, check:
- whether the bike is too large;
- whether they're looking down;
- whether their arms and shoulders are tense;
- whether they're moving fast enough for the bicycle to stabilise;
- whether they're concentrating on pedalling before mastering balance; and
- whether they're simply becoming tired.
Going back to gliding for a few minutes can often be more useful than repeatedly trying to pedal.
What if they can't get the pedals moving?
The first pedal stroke is often the difficult part.
Practise the starting position separately.
Have one pedal raised and slightly forward, then ask the child to push down firmly while looking ahead.
Once the bicycle starts moving, the other foot can come onto the second pedal.
If they become frustrated, return to gliding and try the pedal start again later.
How long does it take a child to learn to ride without stabilisers?
There is no useful universal timeframe.
Some children ride independently very quickly. Others need several sessions before balance, starting and pedalling come together.
Previous balance-bike experience, bike fit, coordination, confidence and the learning environment can all make a difference.
Avoid promising that your child will learn in 30 minutes, a day or a weekend.
The goal is independent, controlled riding — not beating a clock.
Keep learning sessions short
Children often make better progress through several short sessions than one long afternoon.
Stop when:
- they're tired;
- their concentration disappears;
- frustration starts building;
- they've just achieved something they're proud of; or
- they simply want to do something else.
Ending on a small success gives them something positive to return to next time.
Make learning feel like play
You don't need to turn cycling practice into a lesson.
Try activities such as:
- gliding between two markers;
- stopping beside a cone;
- following a large curved line;
- riding towards a parent;
- counting how many seconds they can glide;
- slow-riding challenges; or
- a simple obstacle course once they're ready.
Avoid making rewards dependent on achieving independent riding by a particular time.
The skill itself should remain something they can explore at their own pace.
Don't forget the helmet
Your child should wear a correctly fitted cycle helmet while learning.
The Highway Code recommends a helmet that conforms to current regulations, is the correct size and is securely fastened.
Check that it:
- fits the child's current head circumference;
- sits level on the head;
- doesn't move excessively;
- has correctly adjusted straps; and
- fastens securely.
You can read our kids' bike helmet sizing and fit guide.
Check the bike before every learning session
Before practising, check:
- tyre condition and pressure;
- both brakes;
- wheel security;
- handlebars;
- saddle security; and
- the chain and pedals where fitted.
If you're unsure about a mechanical issue, get the bike checked rather than experimenting with a safety-critical adjustment.
Our kids' bike maintenance checklist explains the main areas to inspect.
What comes after riding without stabilisers?
Being able to pedal independently is the beginning, not the end, of learning to ride.
Continue practising:
- starting;
- controlled stopping;
- turning;
- looking behind while maintaining a straight line;
- slow-speed control;
- using gears when appropriate; and
- awareness of other people and obstacles.
Bikeability Level 1 develops these fundamental cycle-control skills in a traffic-free environment once children can ride without stabilisers.
You can learn more through Bikeability cycle training.
Frequently asked questions
What is the easiest way to teach a child to ride without stabilisers?
Start with balance rather than pedalling. Remove both stabilisers and, if necessary, temporarily remove the pedals so your child can scoot and glide. Once they can balance and brake comfortably, reintroduce the pedals and practise starting.
Should a child's feet touch the ground when learning?
During the initial balance and gliding stage, being able to put their feet down confidently can be helpful. Once they are independently pedalling, saddle height should be adjusted appropriately for riding and within the bicycle manufacturer's permitted range.
Is a balance bike better than stabilisers?
Balance bikes allow children to practise two-wheel balance directly, while stabilisers keep the bicycle upright for them. You can read our full comparison of balance bikes versus stabilisers.
Should I push my child to get them started?
A strong push isn't necessary. Help them learn how to start by pushing down on a raised pedal. Stay nearby and offer light support if needed, but allow the child to control the steering and balance.
Why can my child balance but not pedal?
Pedalling is a separate coordination skill. If they can already glide comfortably, concentrate specifically on the starting pedal position and the first few pedal strokes rather than going back to stabilisers.
What if my child doesn't want to remove their stabilisers?
Don't turn it into a battle. Let them build confidence, introduce balance-bike-style gliding when they're interested and try again another day.
Learning without stabilisers is about control, not speed
The moment a child rides independently is exciting, but don't make that single moment the only measure of success.
Learning to balance for two seconds is progress.
Stopping independently is progress.
Starting without help is progress.
The most effective approach is usually to make the bicycle fit properly, choose a good learning environment and introduce one skill at a time.
Balance first. Then braking. Then pedals.
Give your child enough time to put those pieces together and independent riding will follow when they're ready.
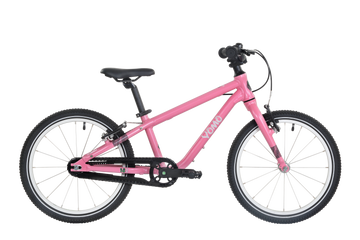
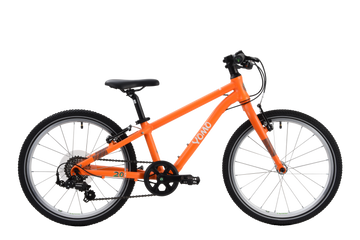
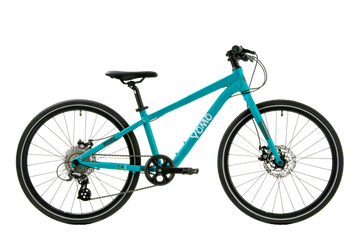
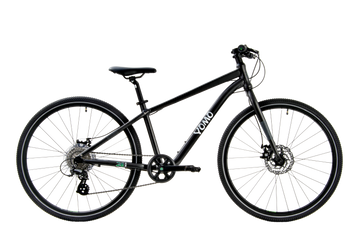
If you're unsure whether their current bike is the right size for learning, check their fit with the YOMO Perfect Size Finder or explore the YOMO children's bike range.


